How we make the best canvas prints from your photos
Curious about how your photo actually makes it to a beautiful canvas artwork? Here’s a step-by-step illustration of how we put your photos on canvas. Our not-so-secret ingredient to the best quality canvas photo printing is love and care. We want you to be happy with each canvas print we make. That’s why we stand behind everyone with our 100% satisfaction guarantee.
1.
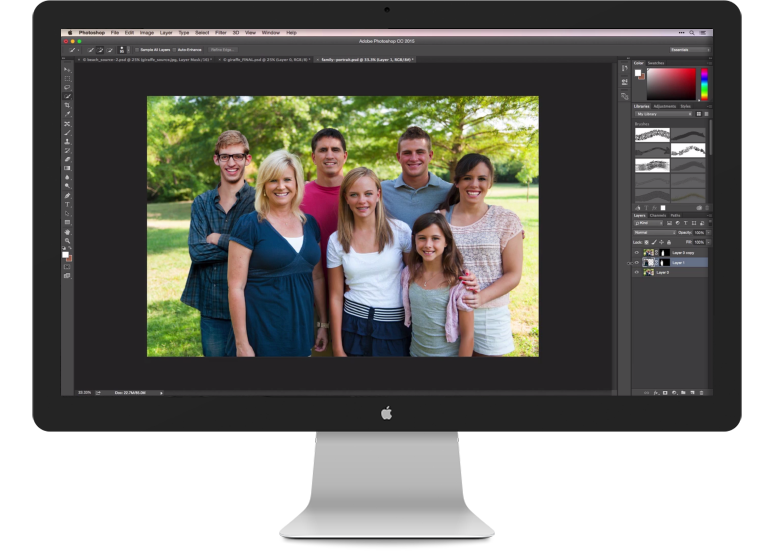
PHOTO EDITING
FREE TOUCHUPS
INCLUDED 🙂
- Image touchups by our Photoshop experts are always free
- We commonly remove blemishes, red eye, image noise, and more
- Use proof notes to talk back and forth with our designers to get your image just how you want it
- Free proofs by email – so you can see a preview before we turn your photo into a canvas print
2.
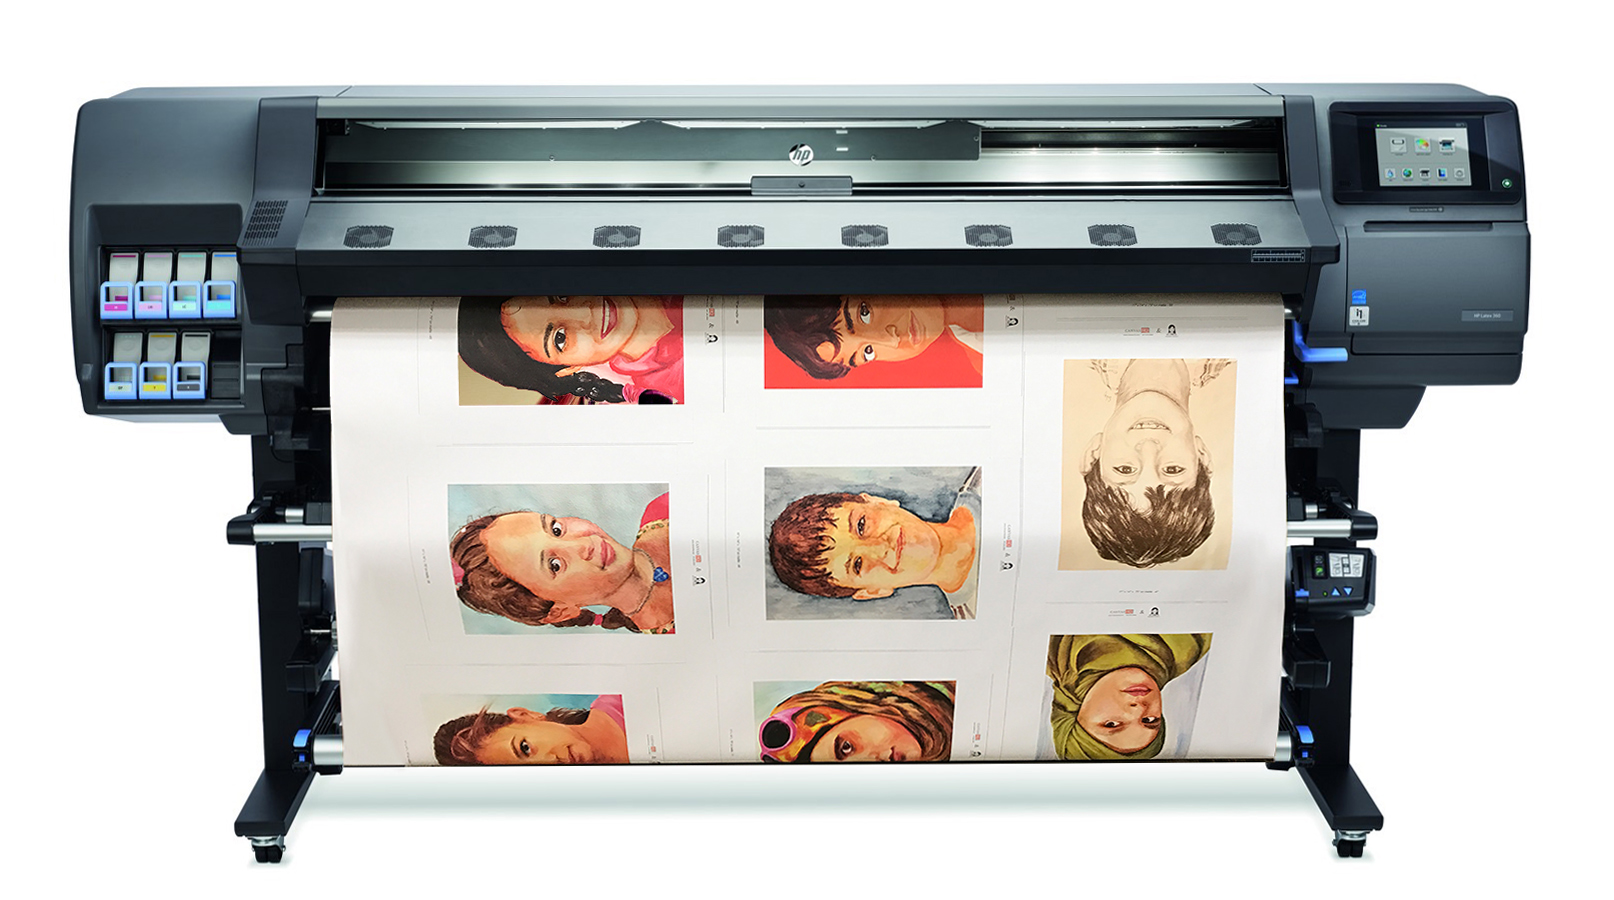
CANVAS PRINTING
OUR INKS
WON’T SMUDGE
- We use state-of-the-art printers to reproduce your photos on canvas
- The printers we use are designed for fine art reproduction – what artists use to reprint their original paintings
- Our inks are designed to be used outdoors; meaning that they can last a lifetime indoors without fading
- Because our inks are meant for outdoor use, they don’t smudge when wet – you can use a damp cloth to clean your canvas artwork
- We use six colors of ink to best recreate the original colors from your photo
- If we find any issue with the print or any imperfection with the canvas at this point, we throw it out and start again
3.
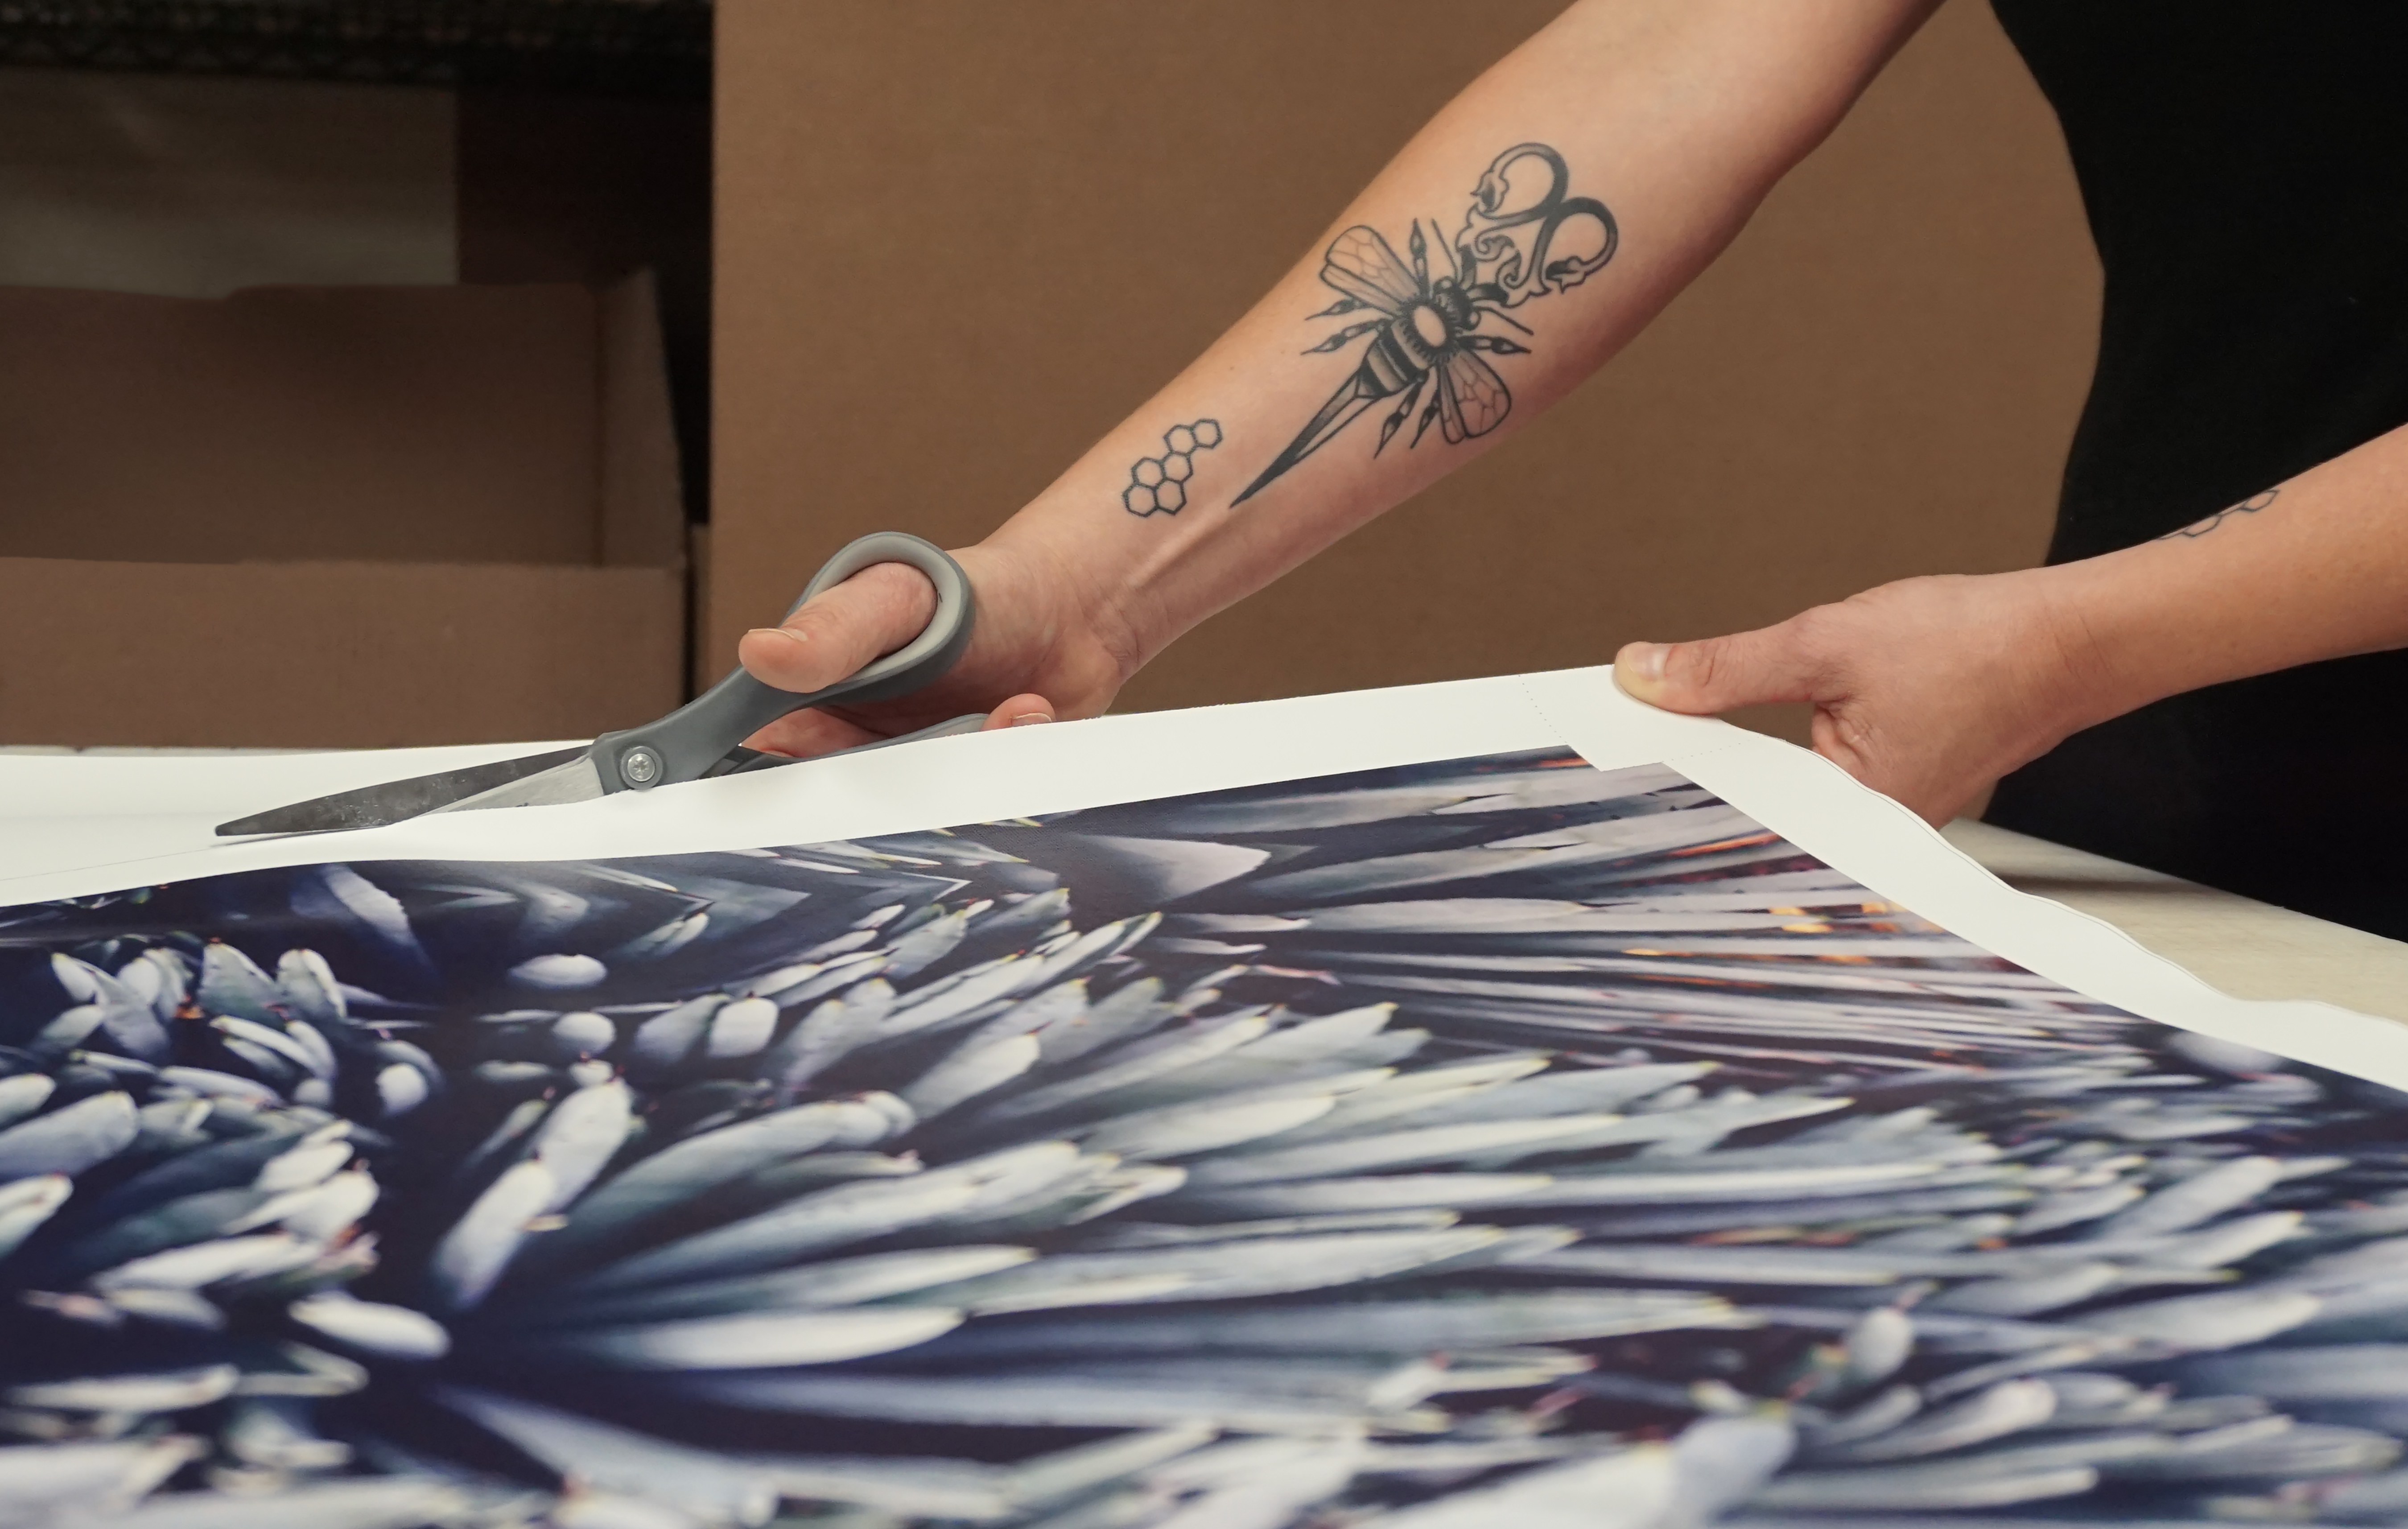
PREPARING CANVAS
FOR STRETCHING
ANOTHER QUALITY CONTROL POINT
- Once your canvas print is finished printing, we cut it and ready it for stretching using precision guides
- At this stage, we do another quality control check for proper colors, we check the print quality, and we make sure that there aren’t any imperfections (small bumps) in the canvas material
4.
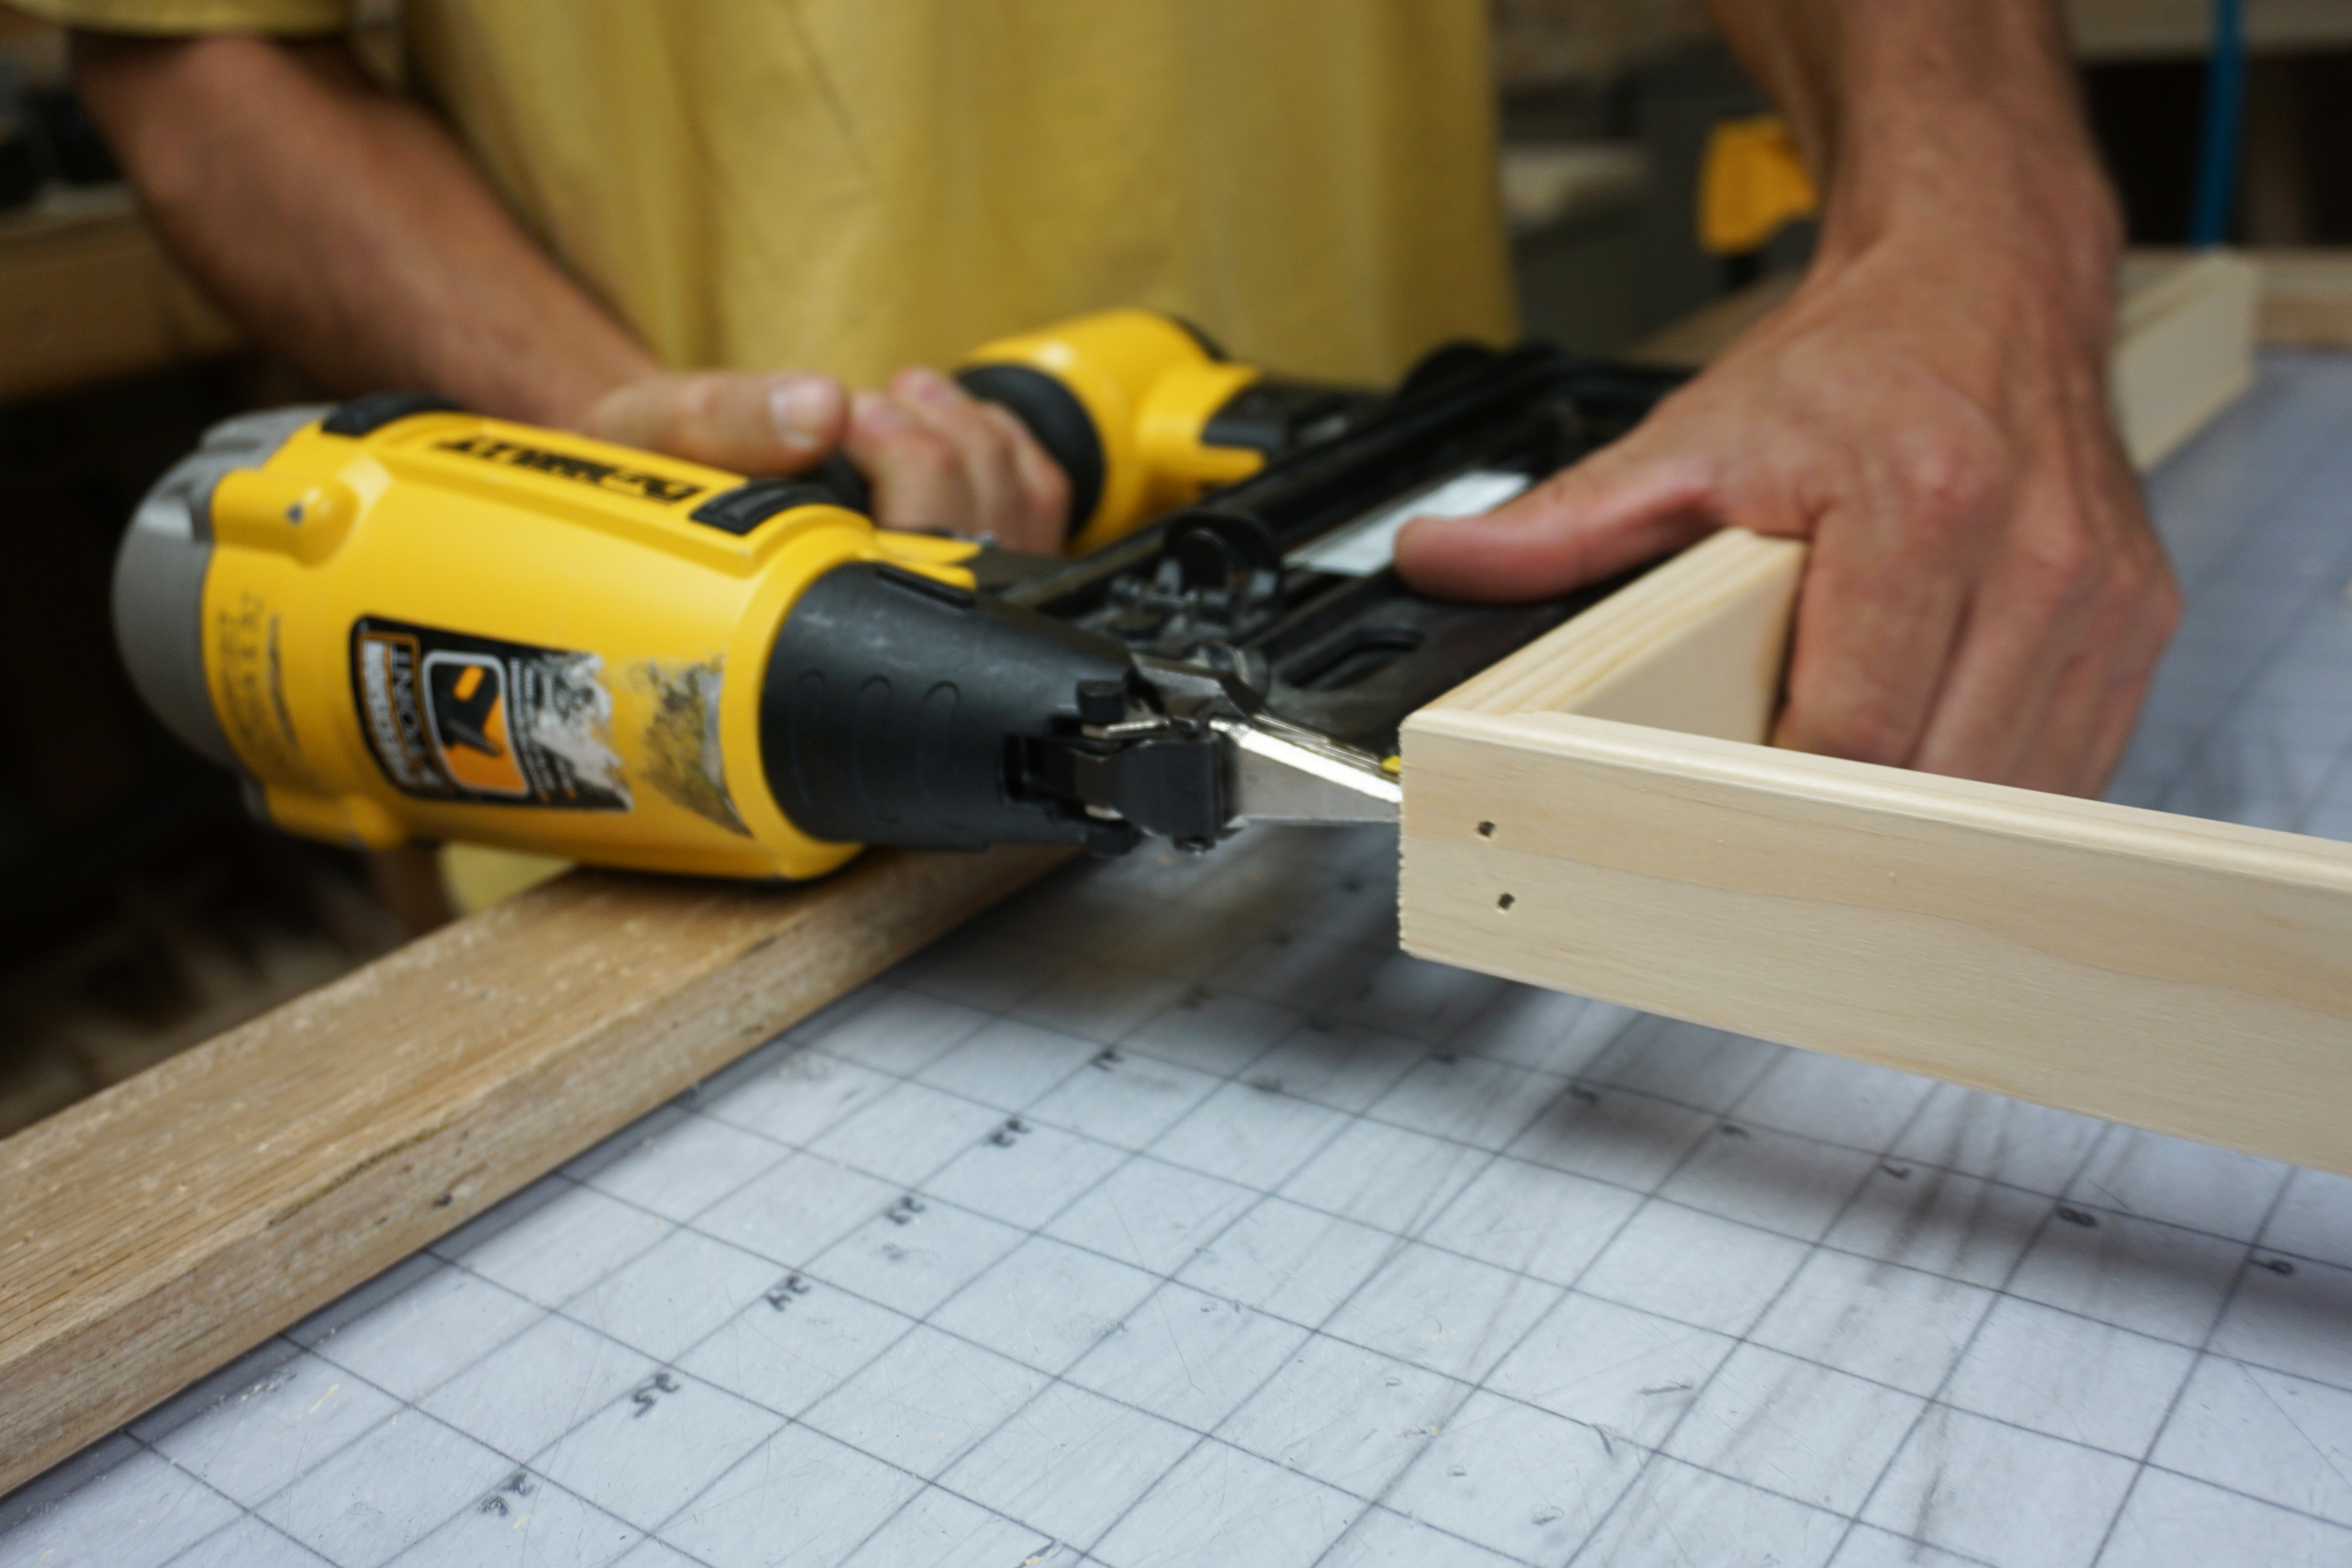
FRAME ASSEMBLY
EVERY FRAME IS HAND-CRAFTED
- The frame for your canvas print is an important part of making sure that your photo will live a long, long life on your wall
- We start out by using super premium pine that is kiln-dried to help prevent against warping in the future
- Each stretcher bar is hand-selected and checked for imperfections including bows, cracks, bad joints, and knots
- We cut the stretcher bars using precision saws and then assemble it using jigs to make sure every frame is straight and true
- The frame is constructed with brads and staples, not glue, to ensure the lasting strength of the frame
- For most of our canvas prints, we use wooden corner bracing and cross-braces to add structural rigidity to the frame and help prevent the frame from ever coming out-of-square
5.
FRAME FINISHING
ANOTHER QUALITY CONTROL POINT
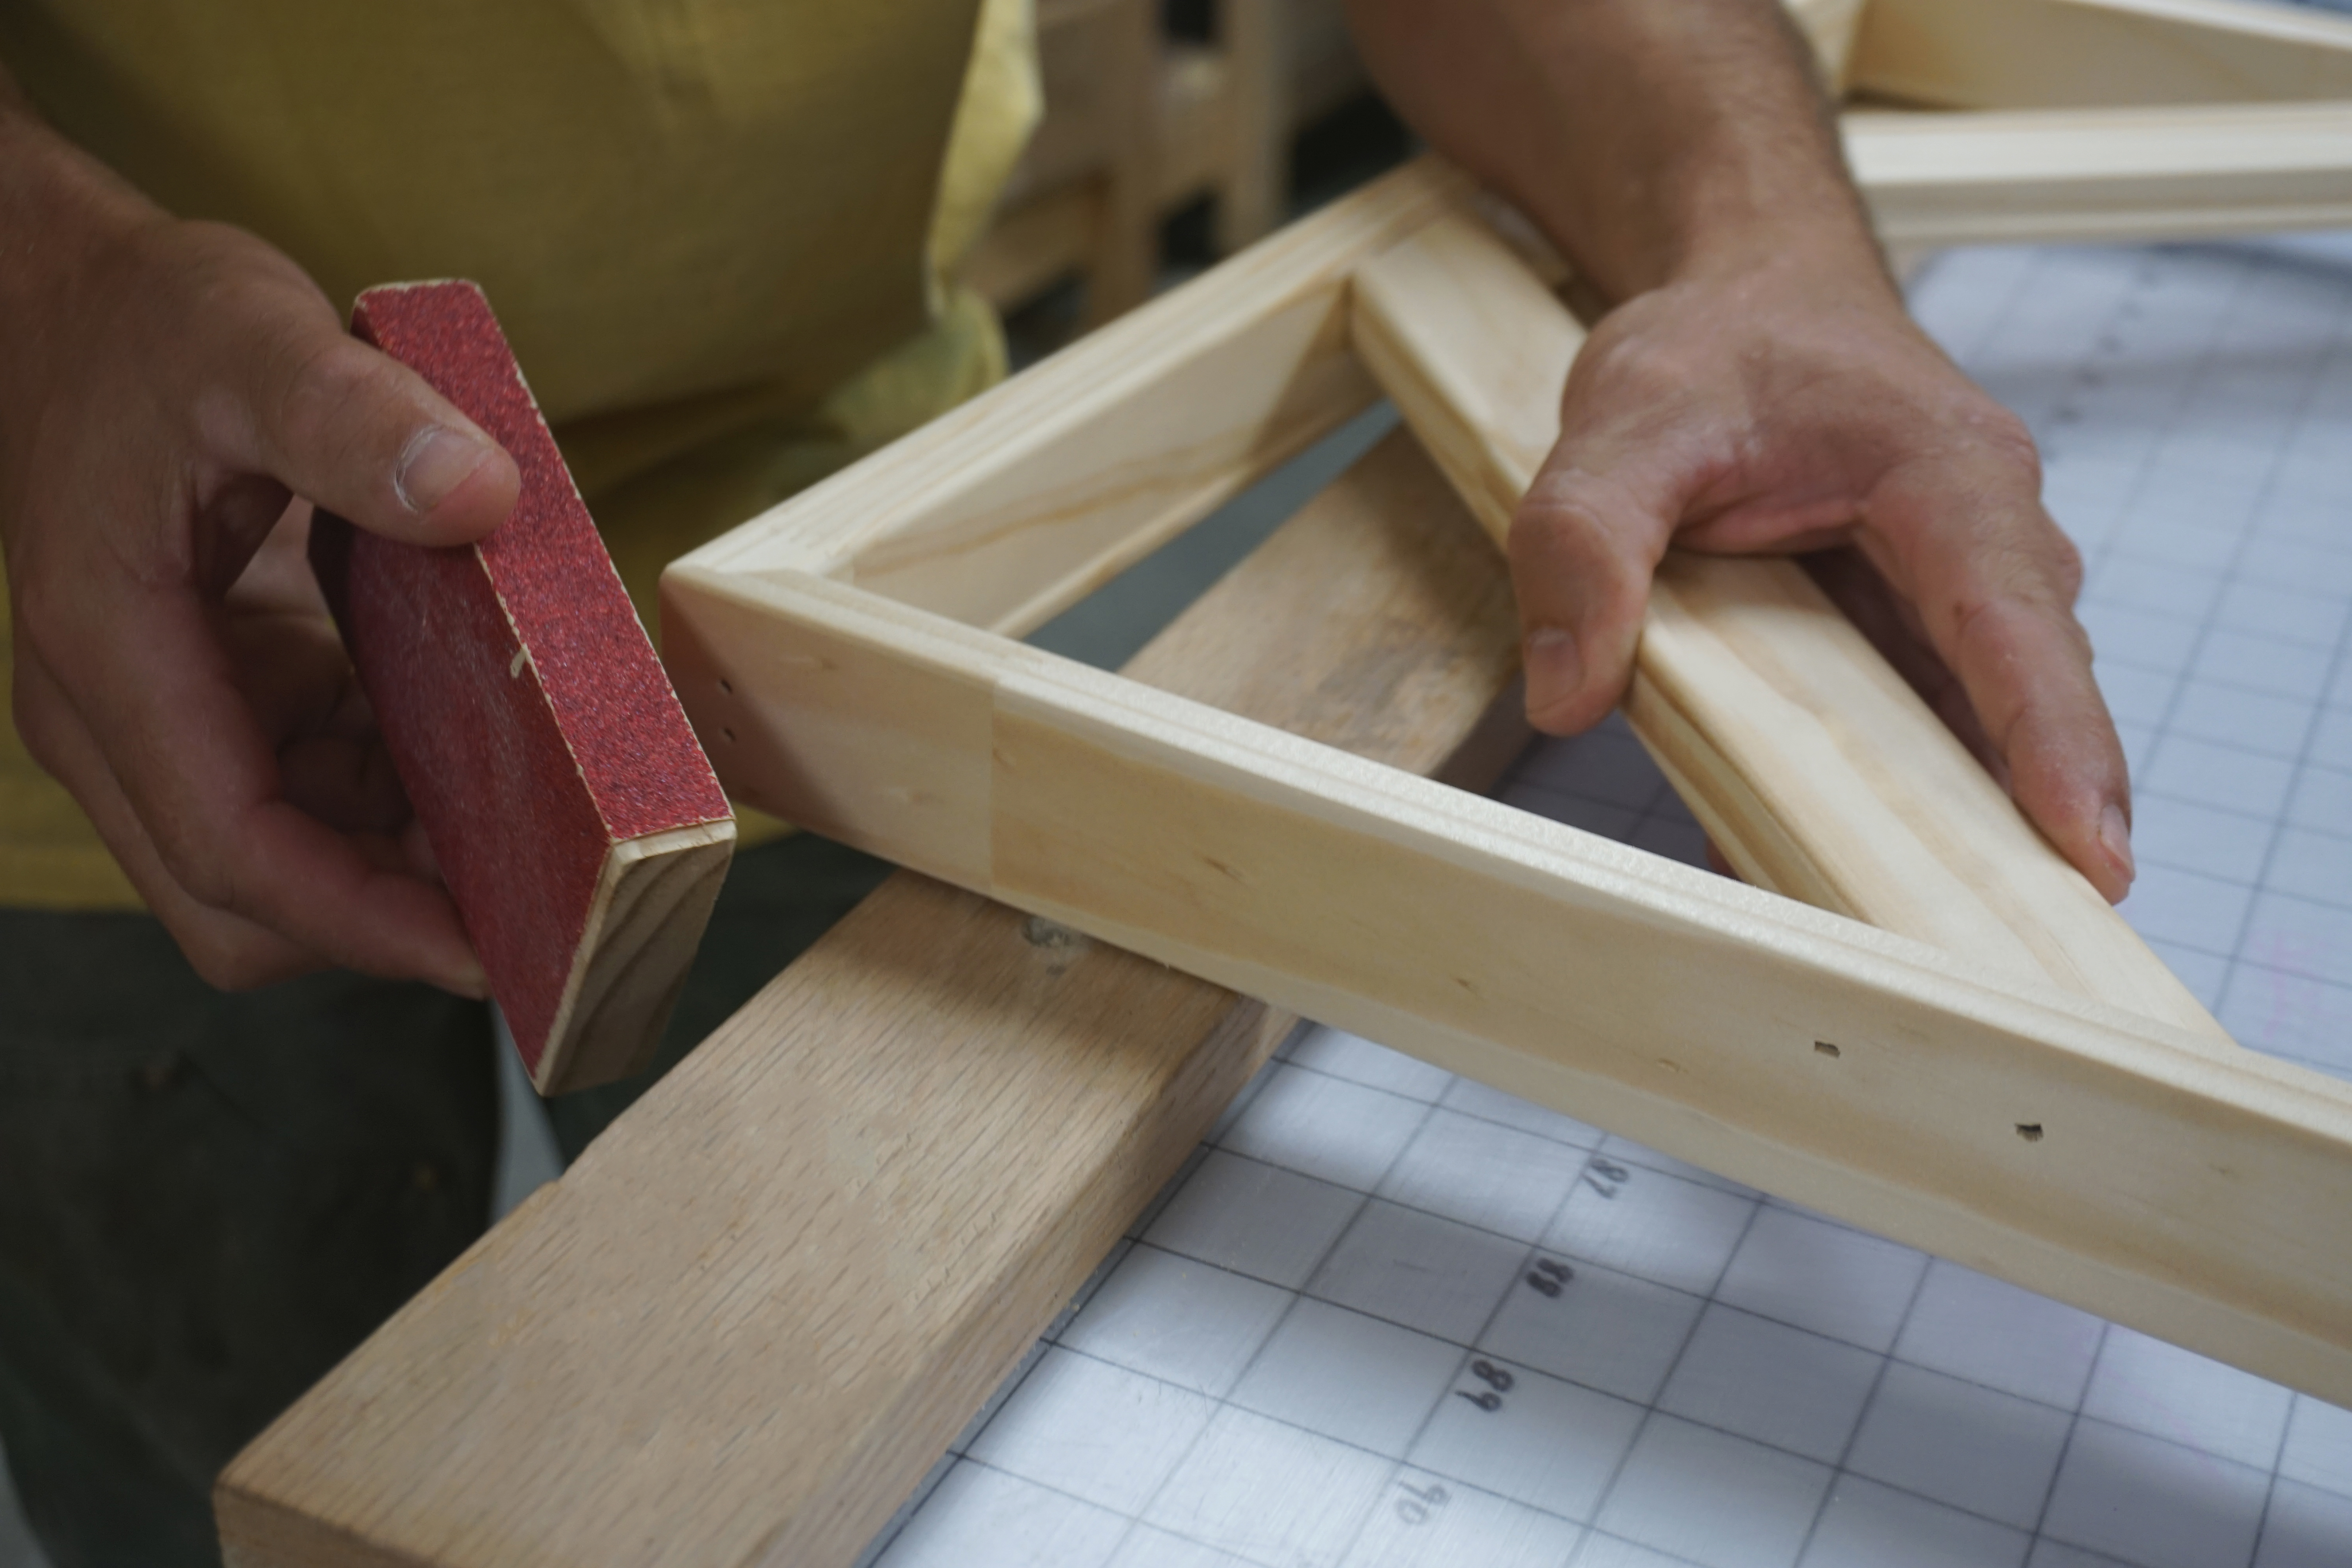
- Every frame is sanded and finished by hand
- The frames are looked over once again to make sure there are no imperfections that would detract from your canvas print
6.
CANVAS STRETCHING
TIGHT AS A DRUM
- Canvas stretching is the art of marrying your canvas print with your frame – it’s the hardest and most important part of making sure that you get the highest quality photo on canvas
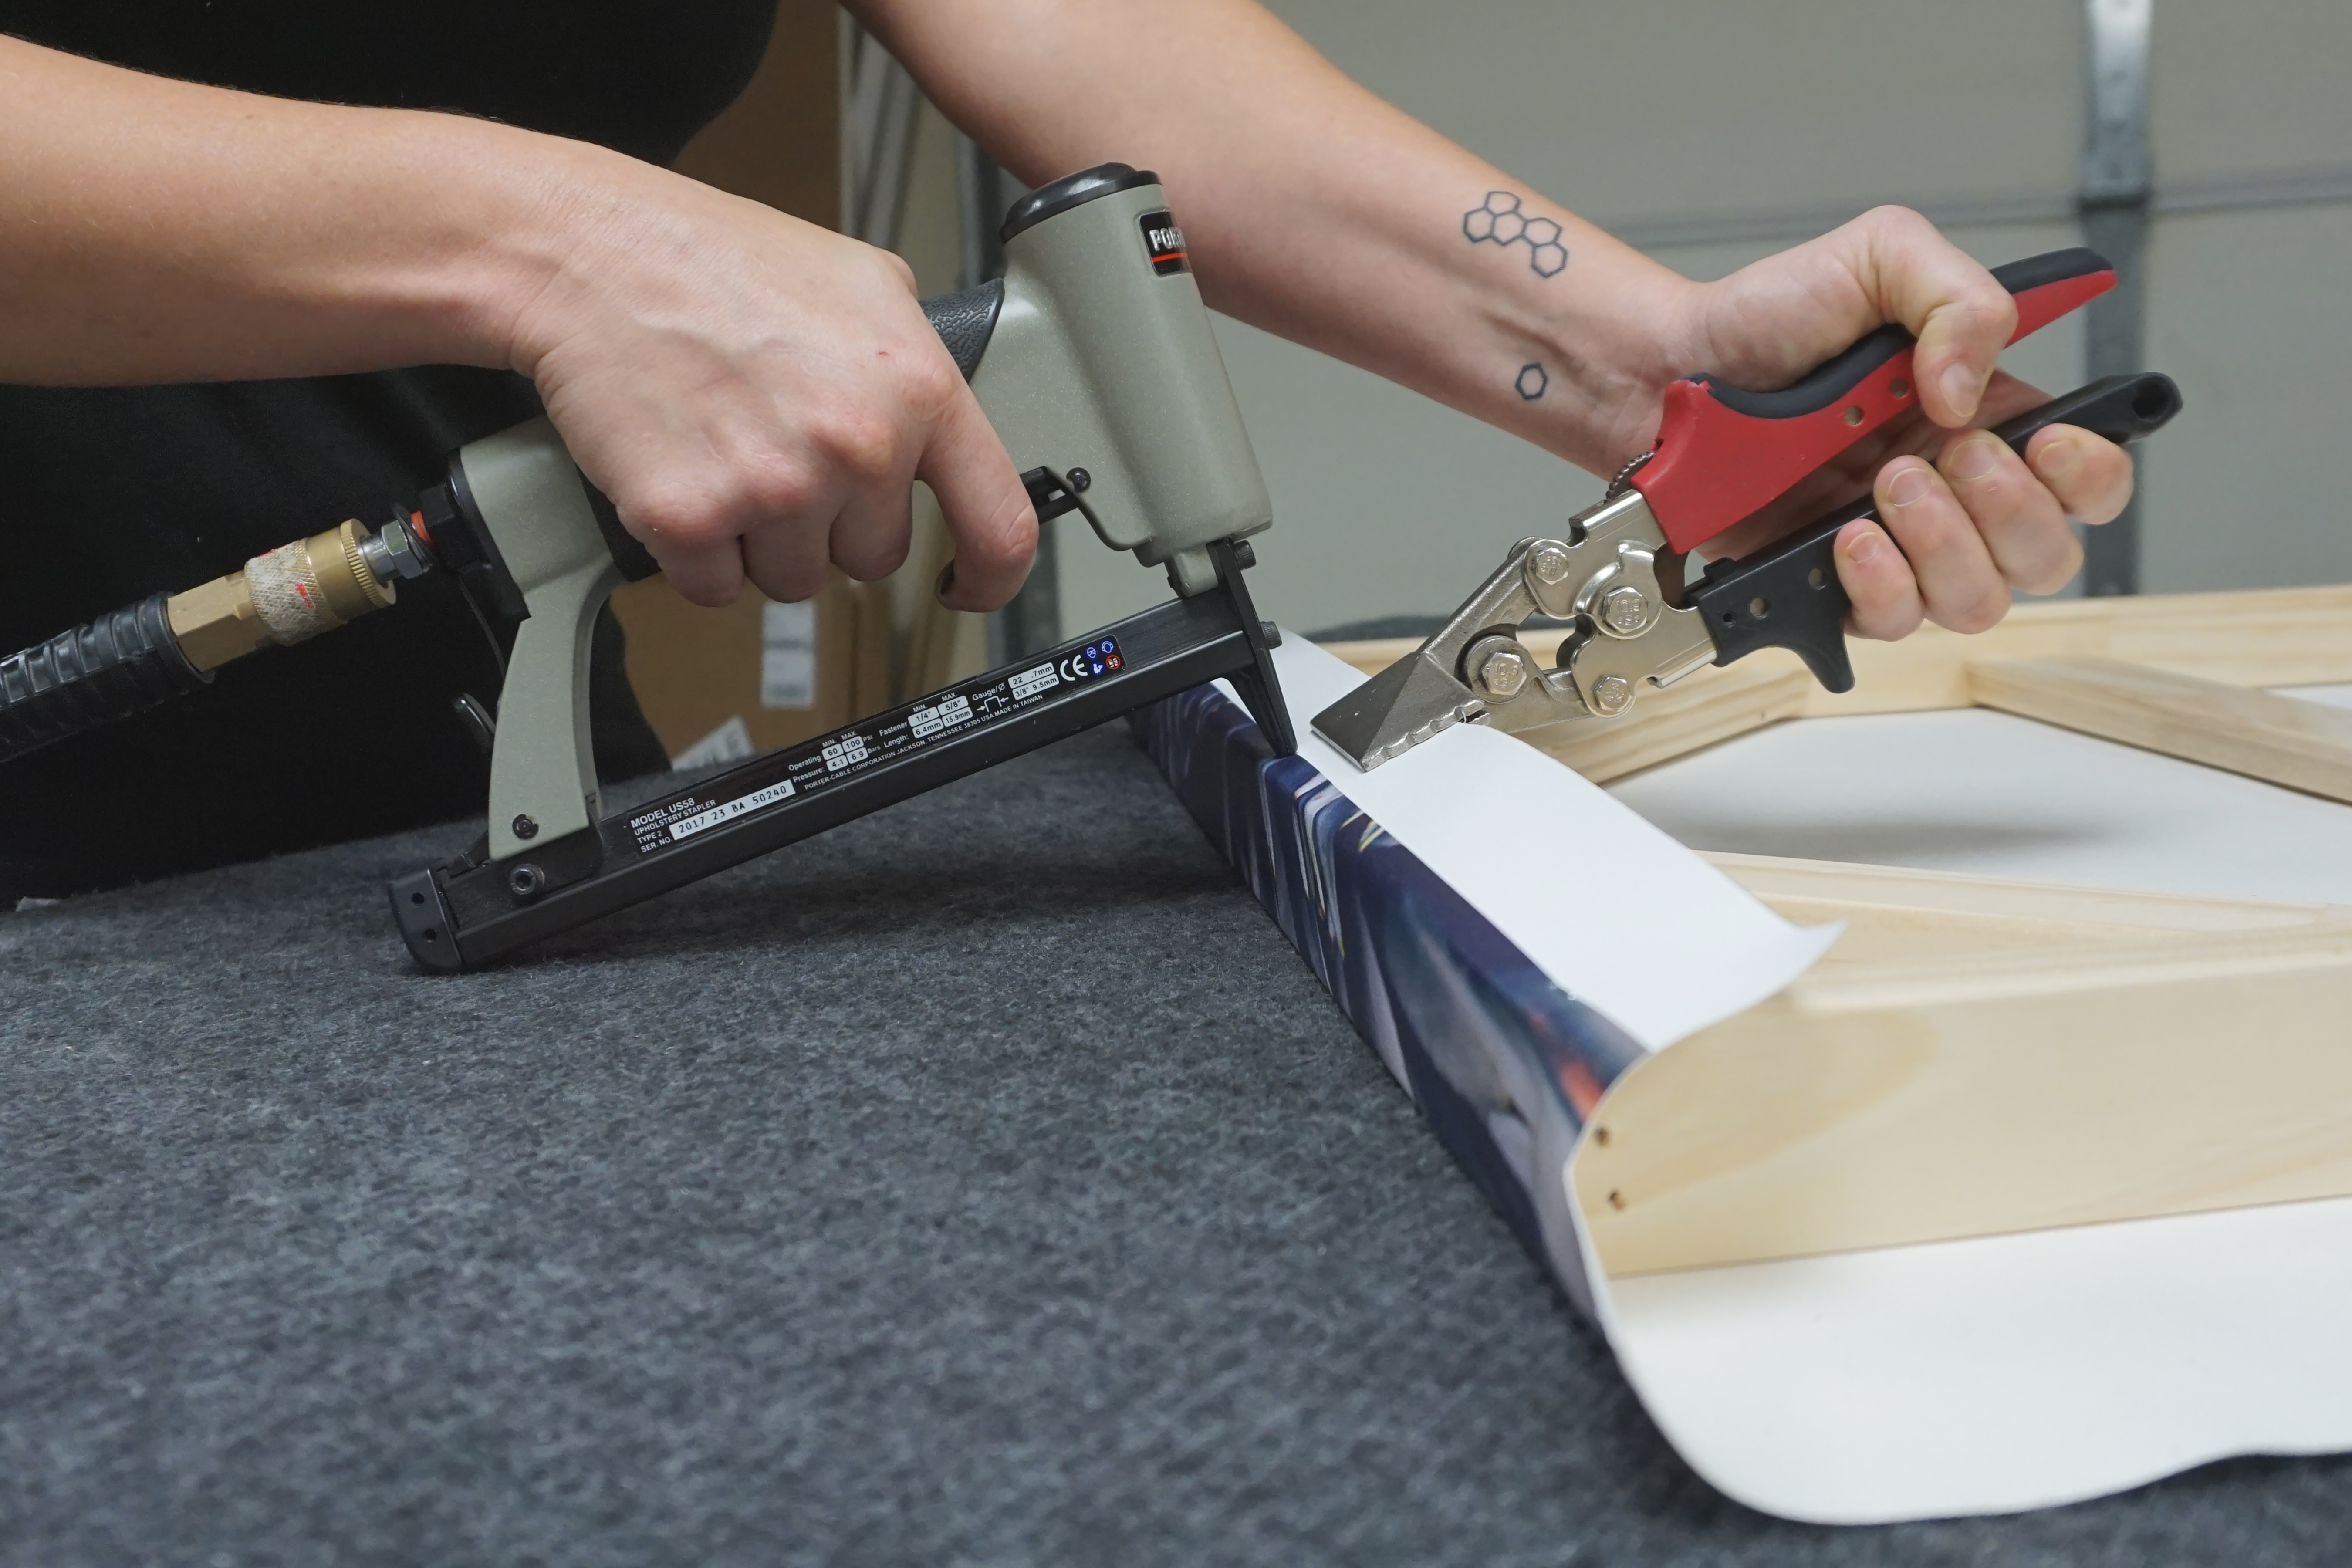
- We start by aligning the canvas to the frame using guides printed on the canvas, then we set the first edge of the canvas by hand using a staple gun
- All throughout the process, we protect the face of your canvas using soft-surface table tops
- We pull the canvas taut, and repeat the stapling process on the three remaining sides
- This ensures that we get a nice firm and even stretch resulting in the ‘drum’ sound when you tap on the face of your canvas print
- We expertly fold the corners so that the edges are nice and square

7.
HARDWARE INSTALLATION
AND FINAL QUALITY CONTROL
- As always, we’re sticklers about giving you a high quality photo canvas product
- If at any point in the process we see something that will result in a defect in your canvas print, we don’t hesitate to start your canvas all over again
- At this point in the process, we add the hanging hardware to the back of your canvas; smaller canvases receive a sawtooth hanger and larger canvases receive a hanging wire across the back
- We even include a handy hanging hook with your canvas so that you can mount it to your wall without needing any tools
8.
PACKAGING AND SHIPPING
HIGH QUALITY ALL
THE WAY TO YOUR DOOR
- Once we make a high quality canvas print, of course, that’s not where the process ends
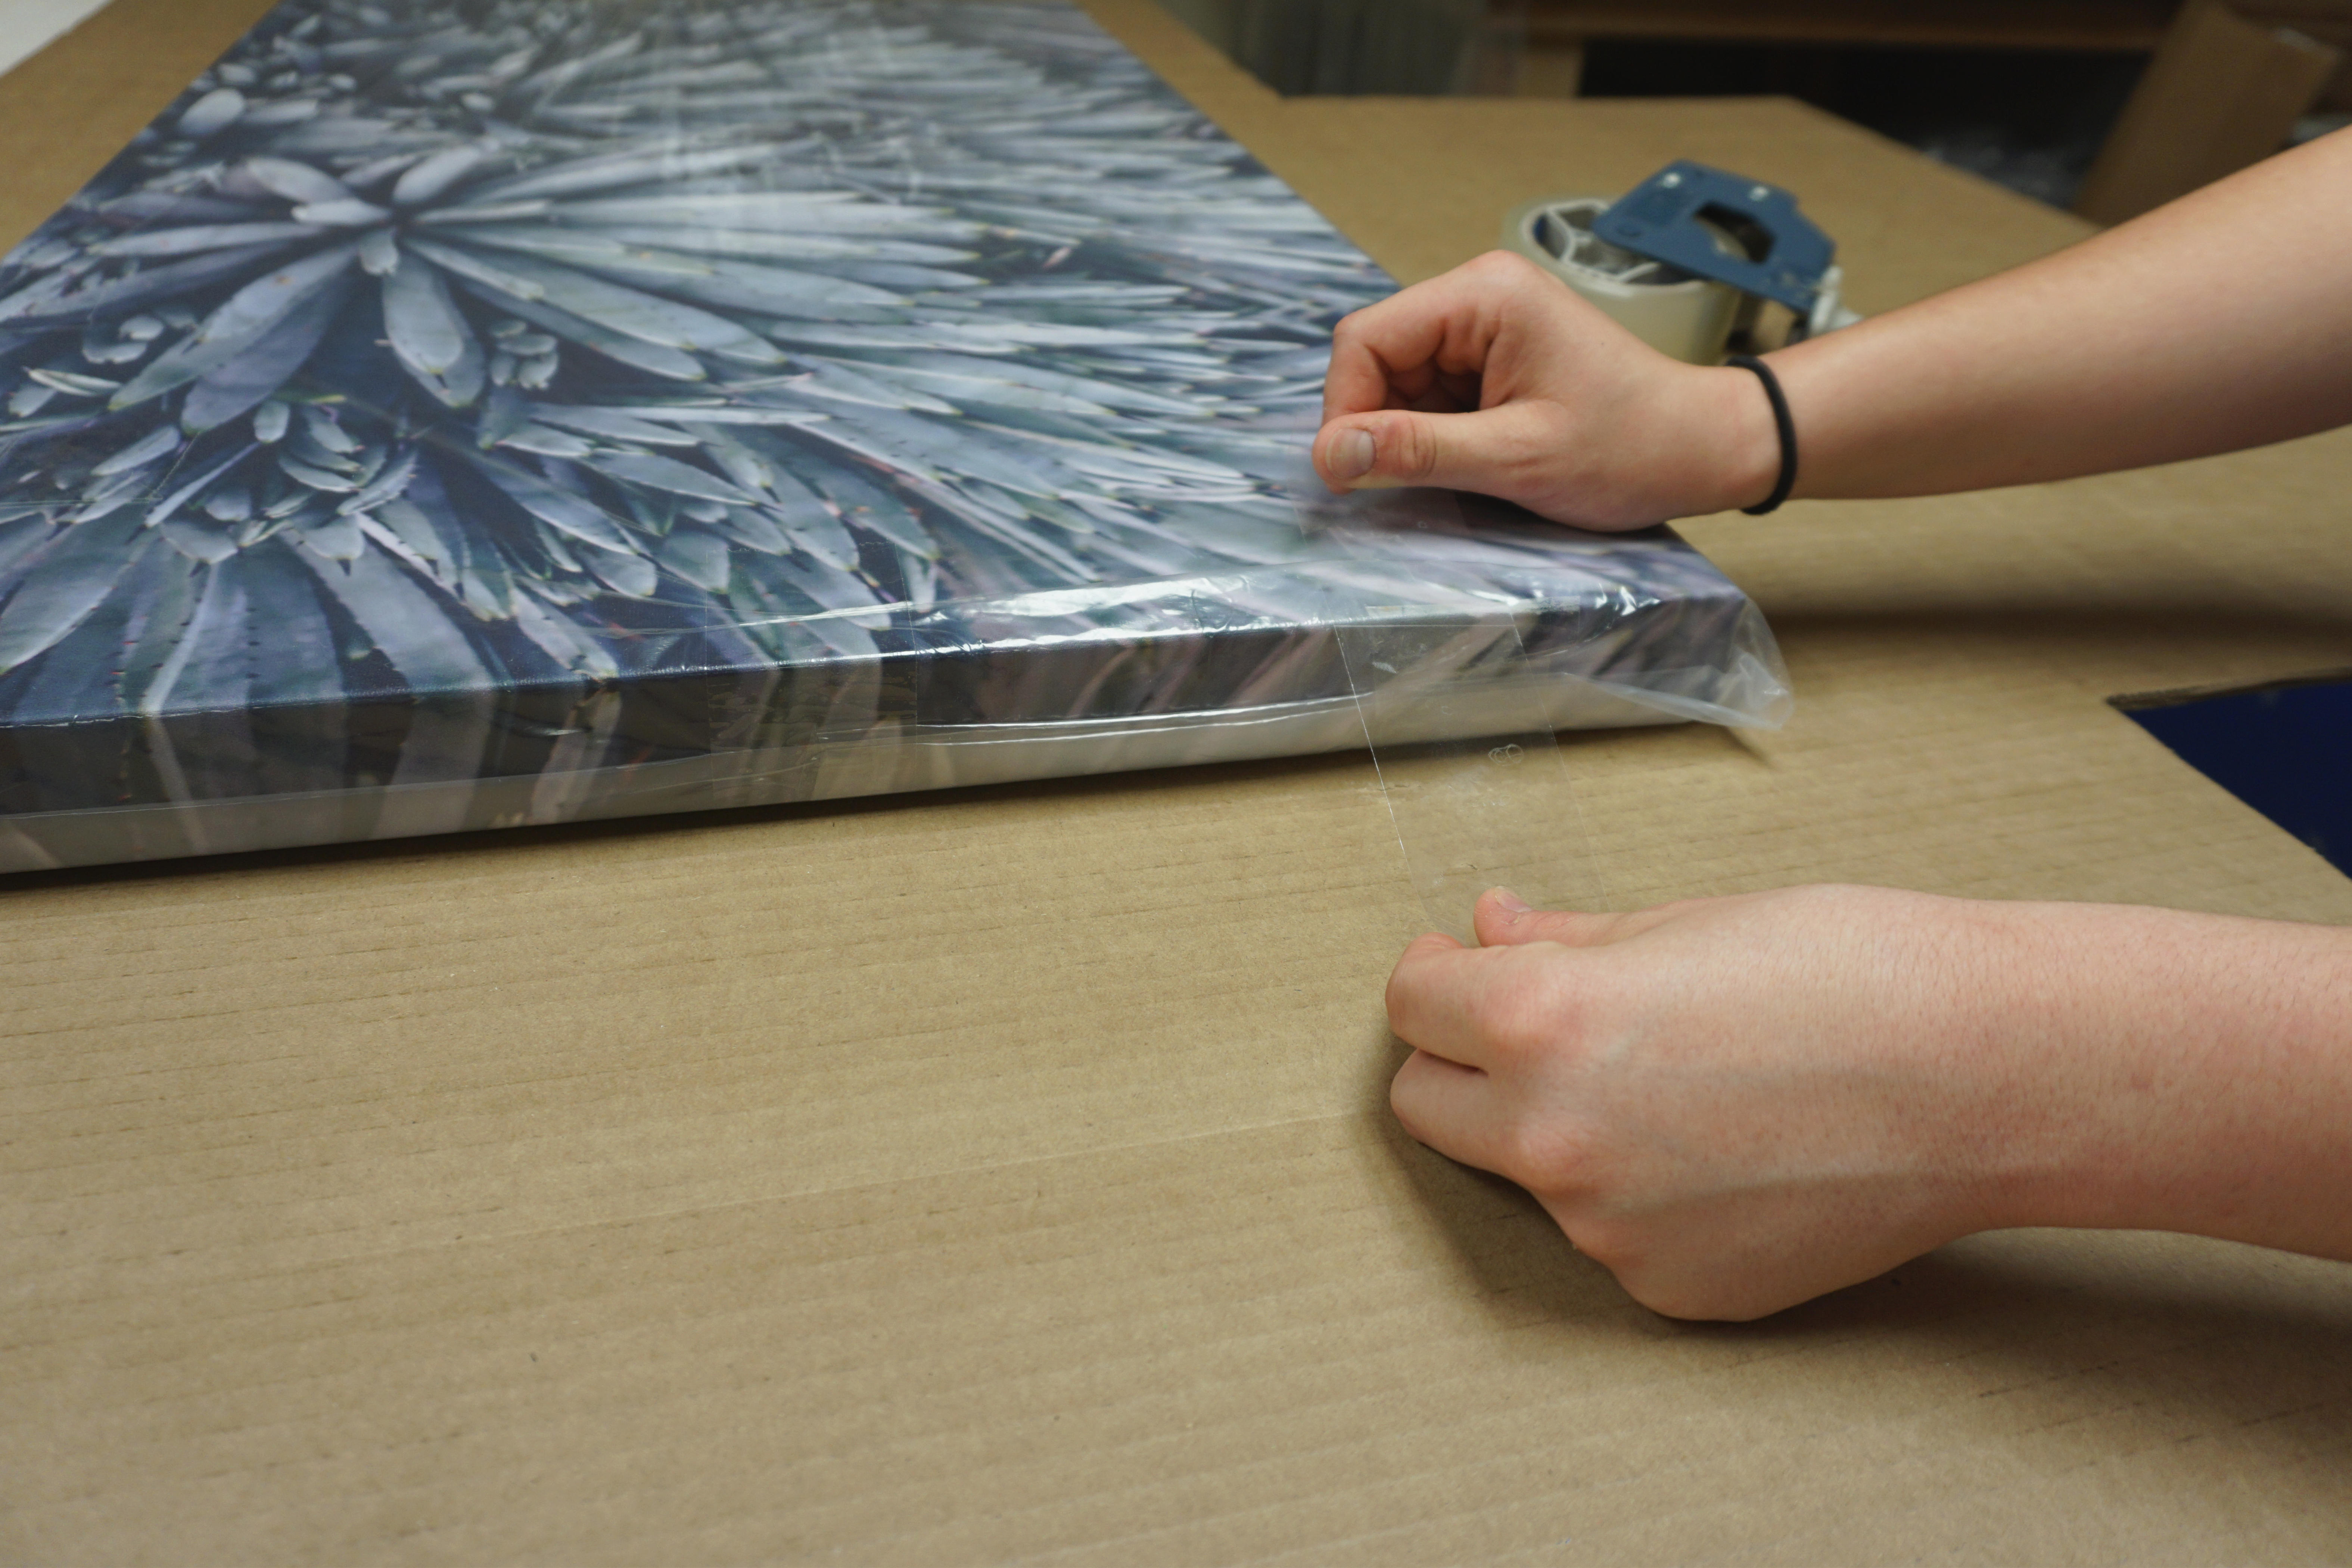
- We protect your canvas in a plastic sleeve to prevent scratching during shipping
- We use a packaging technique and boxes that were specifically approved by FedEx – that means that 99.5% of our canvas prints make it to you without shipping damage
- In those rare cases where your photo canvas is damaged during shipment – no worries – we’ll replace it quickly and without additional charge
- After the package is sealed up and the shipping labels are affixed, we send you a shipping confirmation so that you can track your canvas throughout the shipping process
9.
MOUNTING YOUR CANVAS
READY TO HANG; NO TOOLS NEEDED
- Once the friendly FedEx delivery person has dropped off your canvas print, you’re just minutes away from being able to display it in your home or office
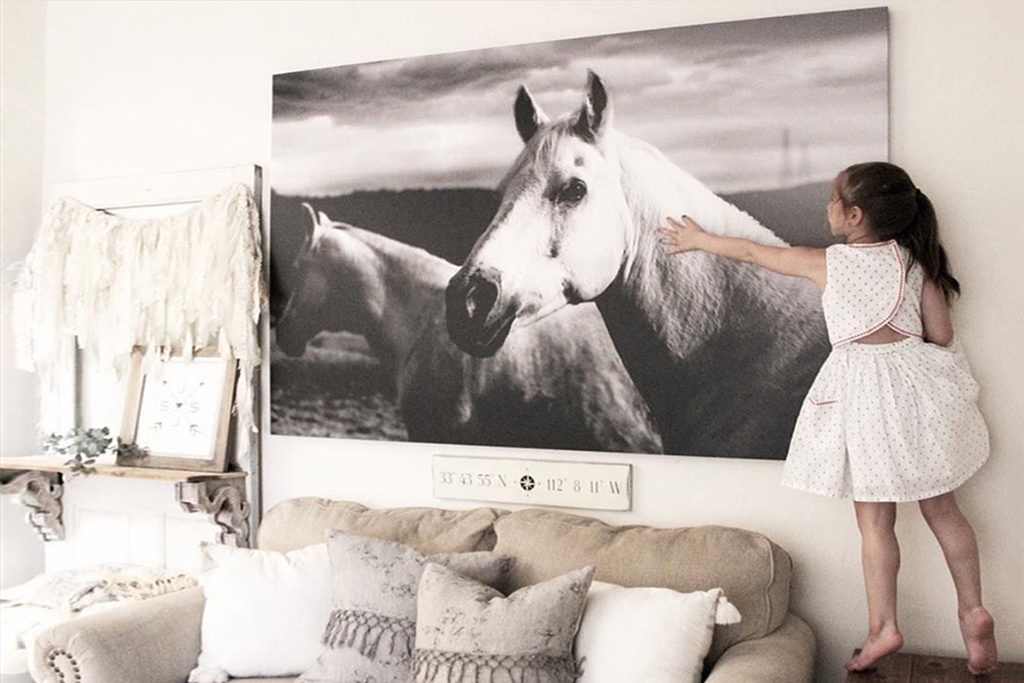
- The last and most fun step in the process is for you to choose the final home on your wall for your canvas print
- Once the perfect spot is chosen, you can simply push our included hanging hook into your wall, no tools needed
- Your canvas print is ready to hang, level, and enjoy

